> For the complete documentation index, see [llms.txt](https://docs.ineom-tsel.mit.id/llms.txt). Markdown versions of documentation pages are available by appending `.md` to page URLs; this page is available as [Markdown](https://docs.ineom-tsel.mit.id/amesty/asset-dismantle/ttc/add-new-asset.md).
# Add New Asset
{% hint style="info" %}
Proses add new asset pada asset dismantle dapat dilakukan dengan dua cara, yaitu:
1. Penambahan asset di lokasi tertentu
2. Penambahan asset di existing asset
Proses penambahan asset di existing asset: 1) Scan barcode pada existing asset, 2) Menambahkan asset baru. [Baca selengkapnya..](/amesty/asset-new-addition/ttc/add-new-asset-on-existing-asset.md)
{% endhint %}
Proses add new asset di lokasi tertentu:
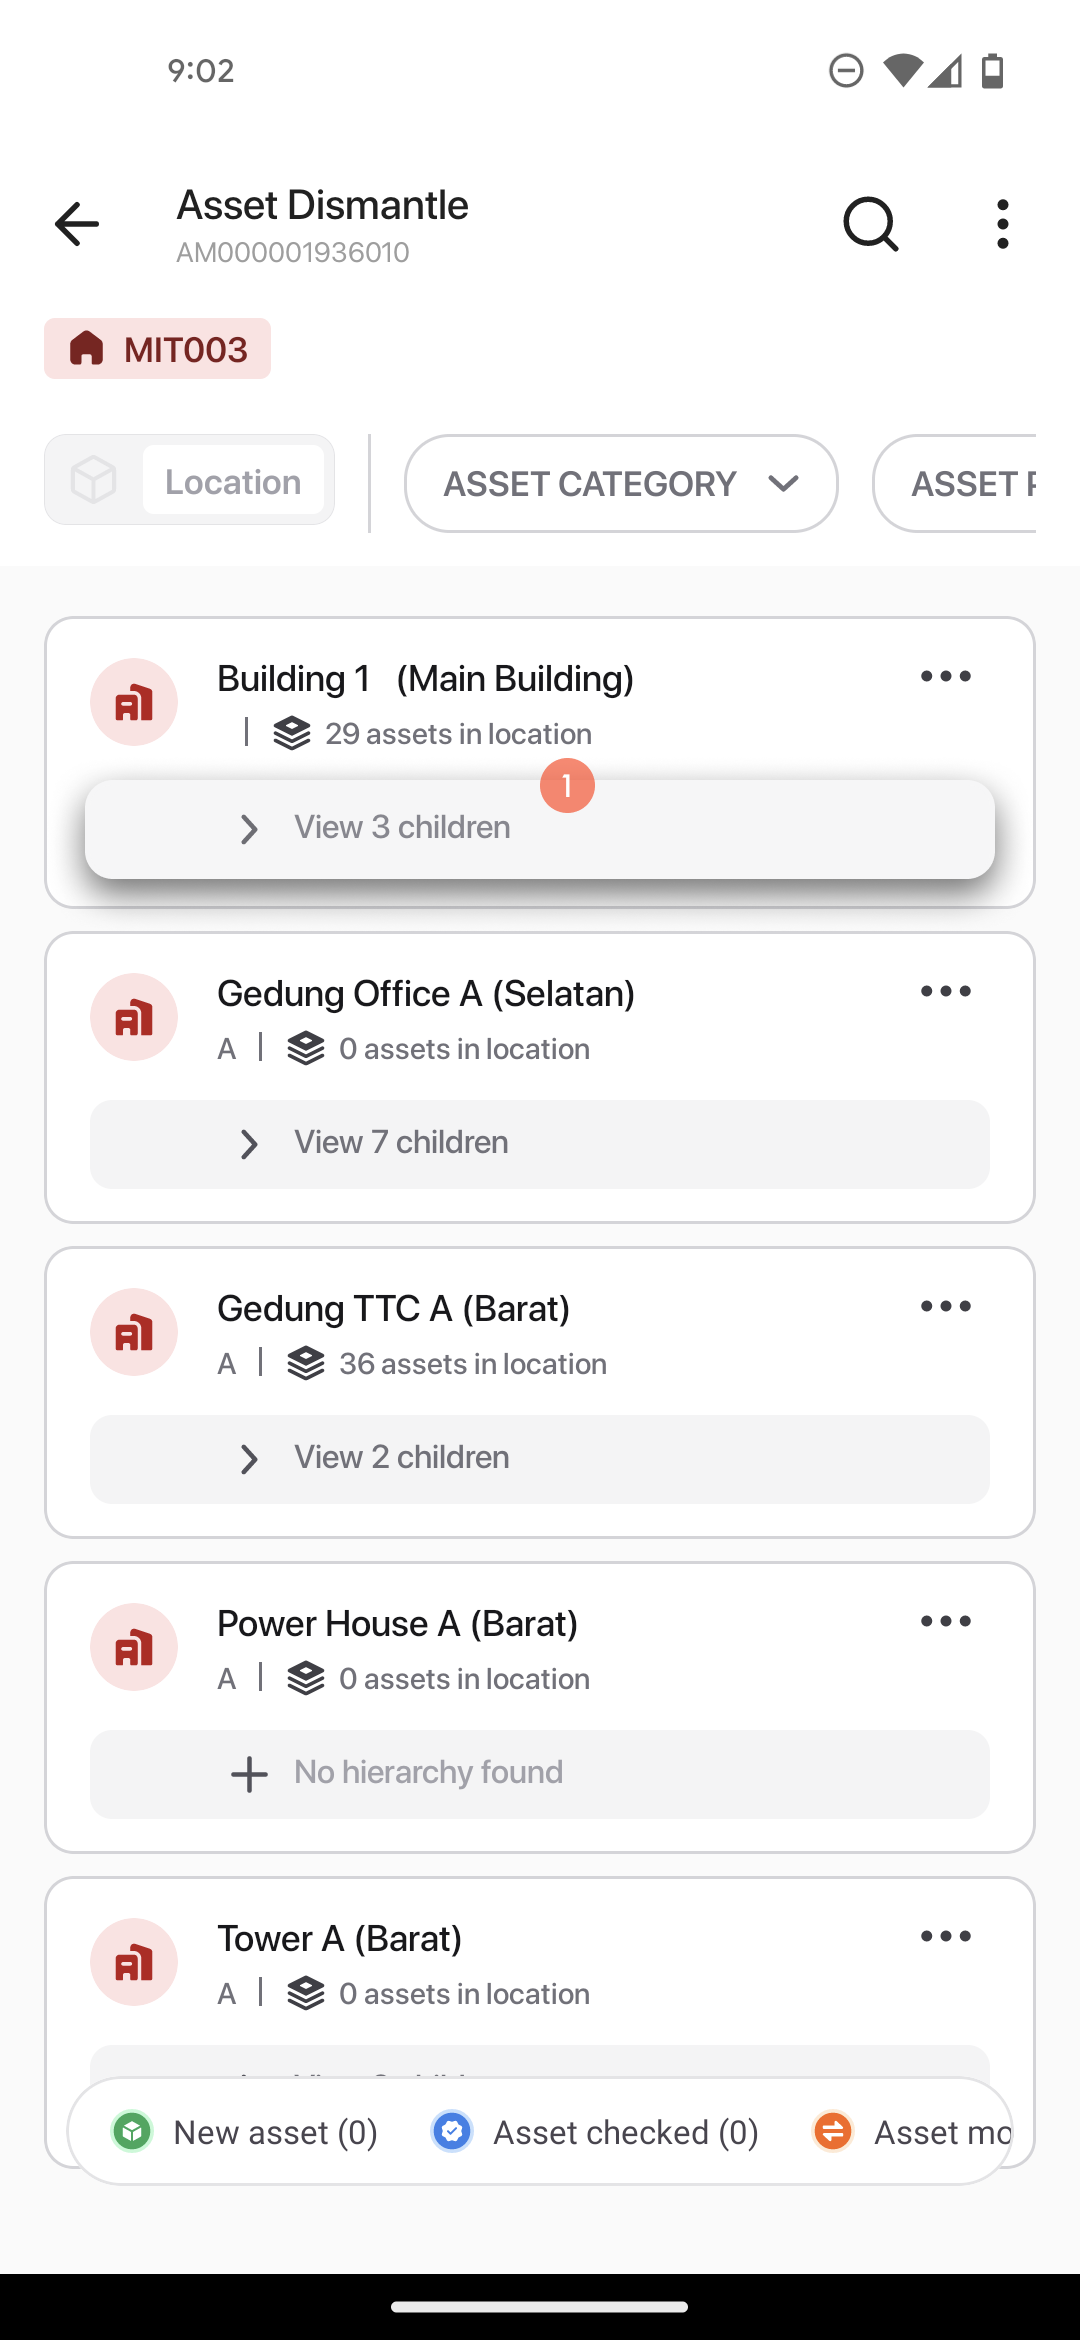
1. Pilih building.
2. Pilih floor.
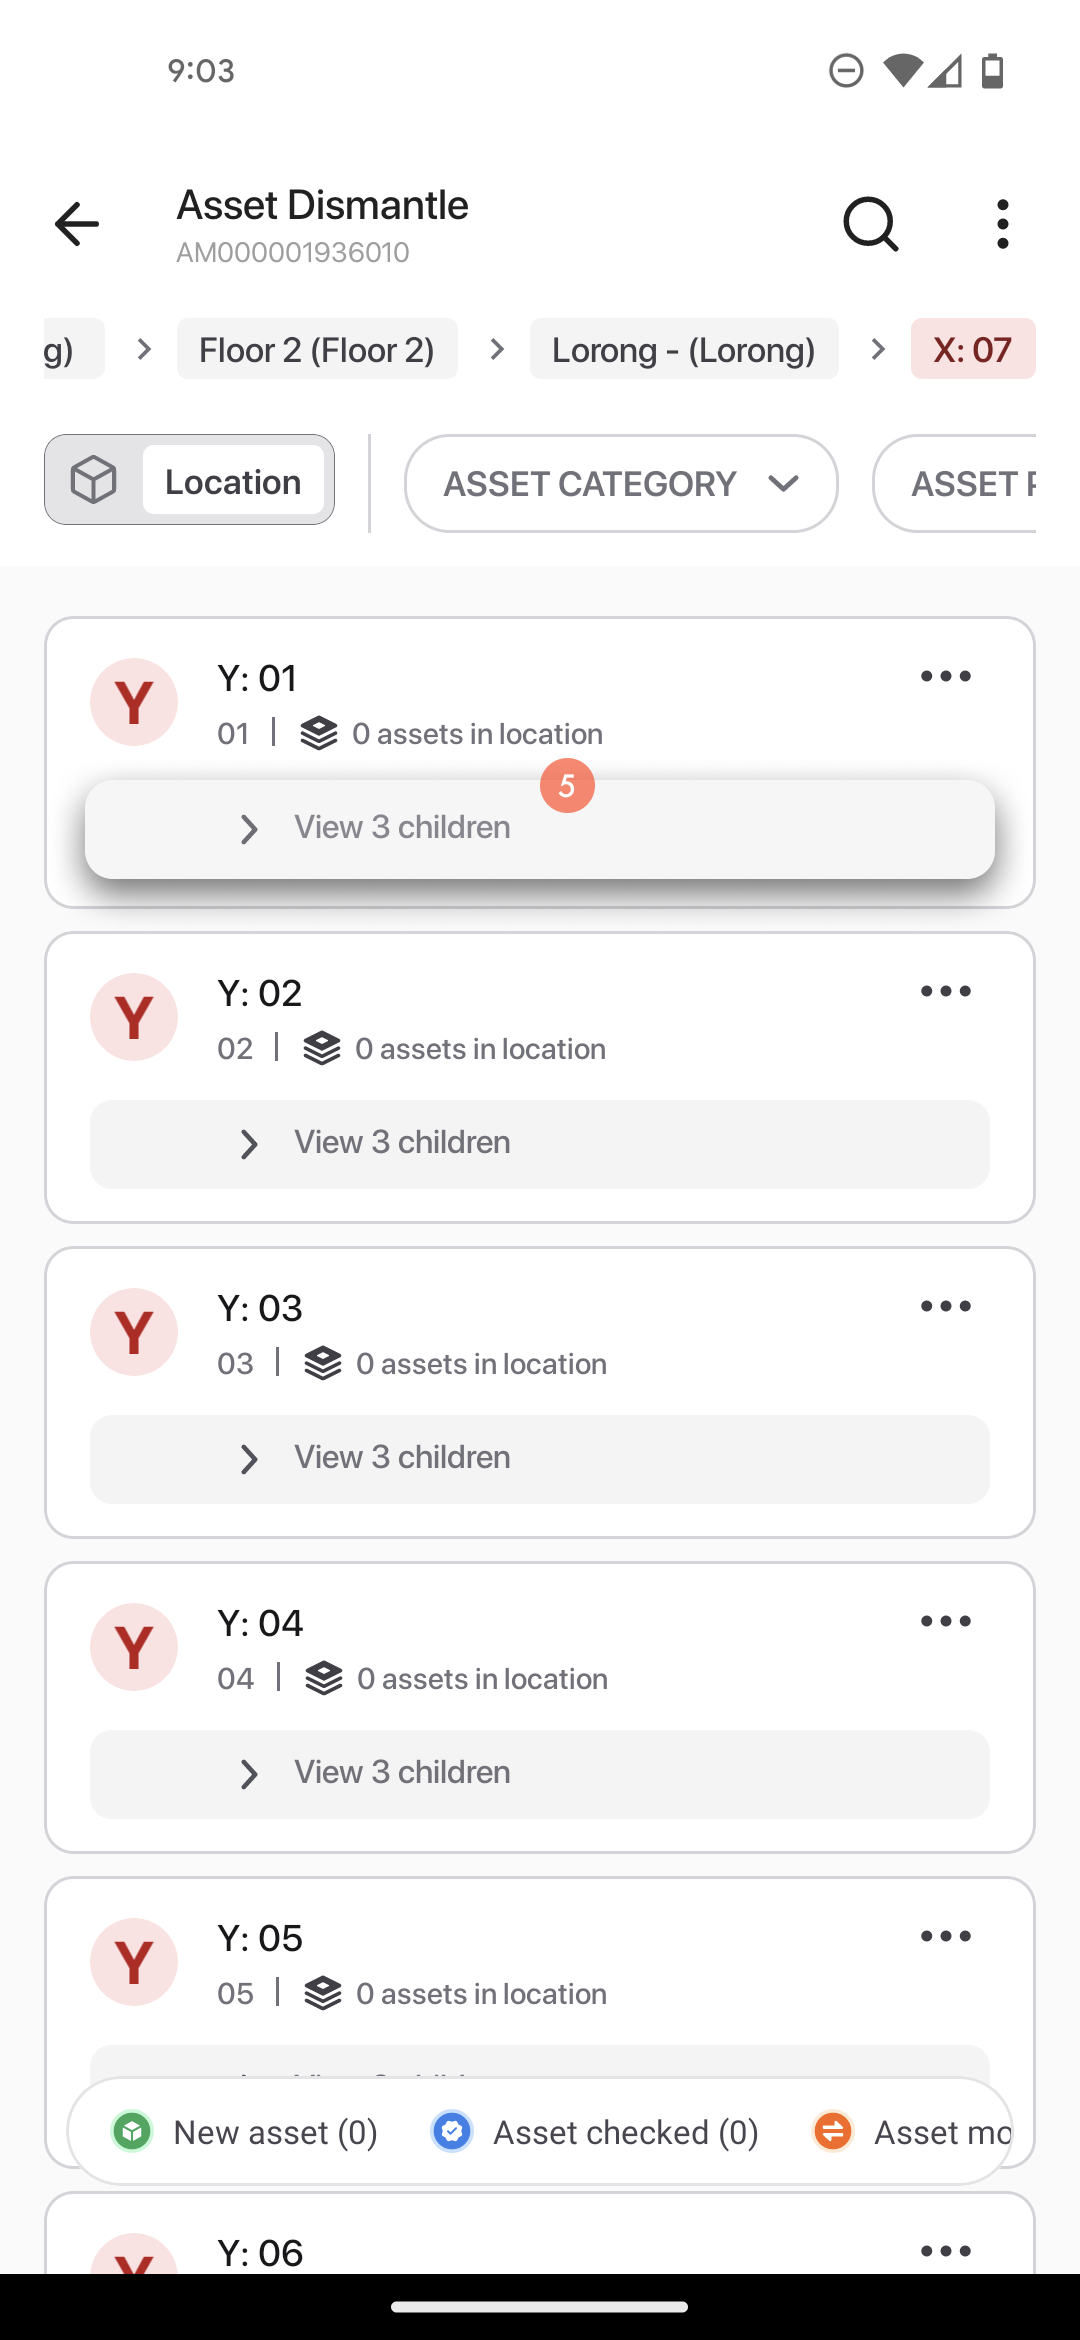
3. Pilih room.
4. Pilih racking X.
5. Pilih racking Y.
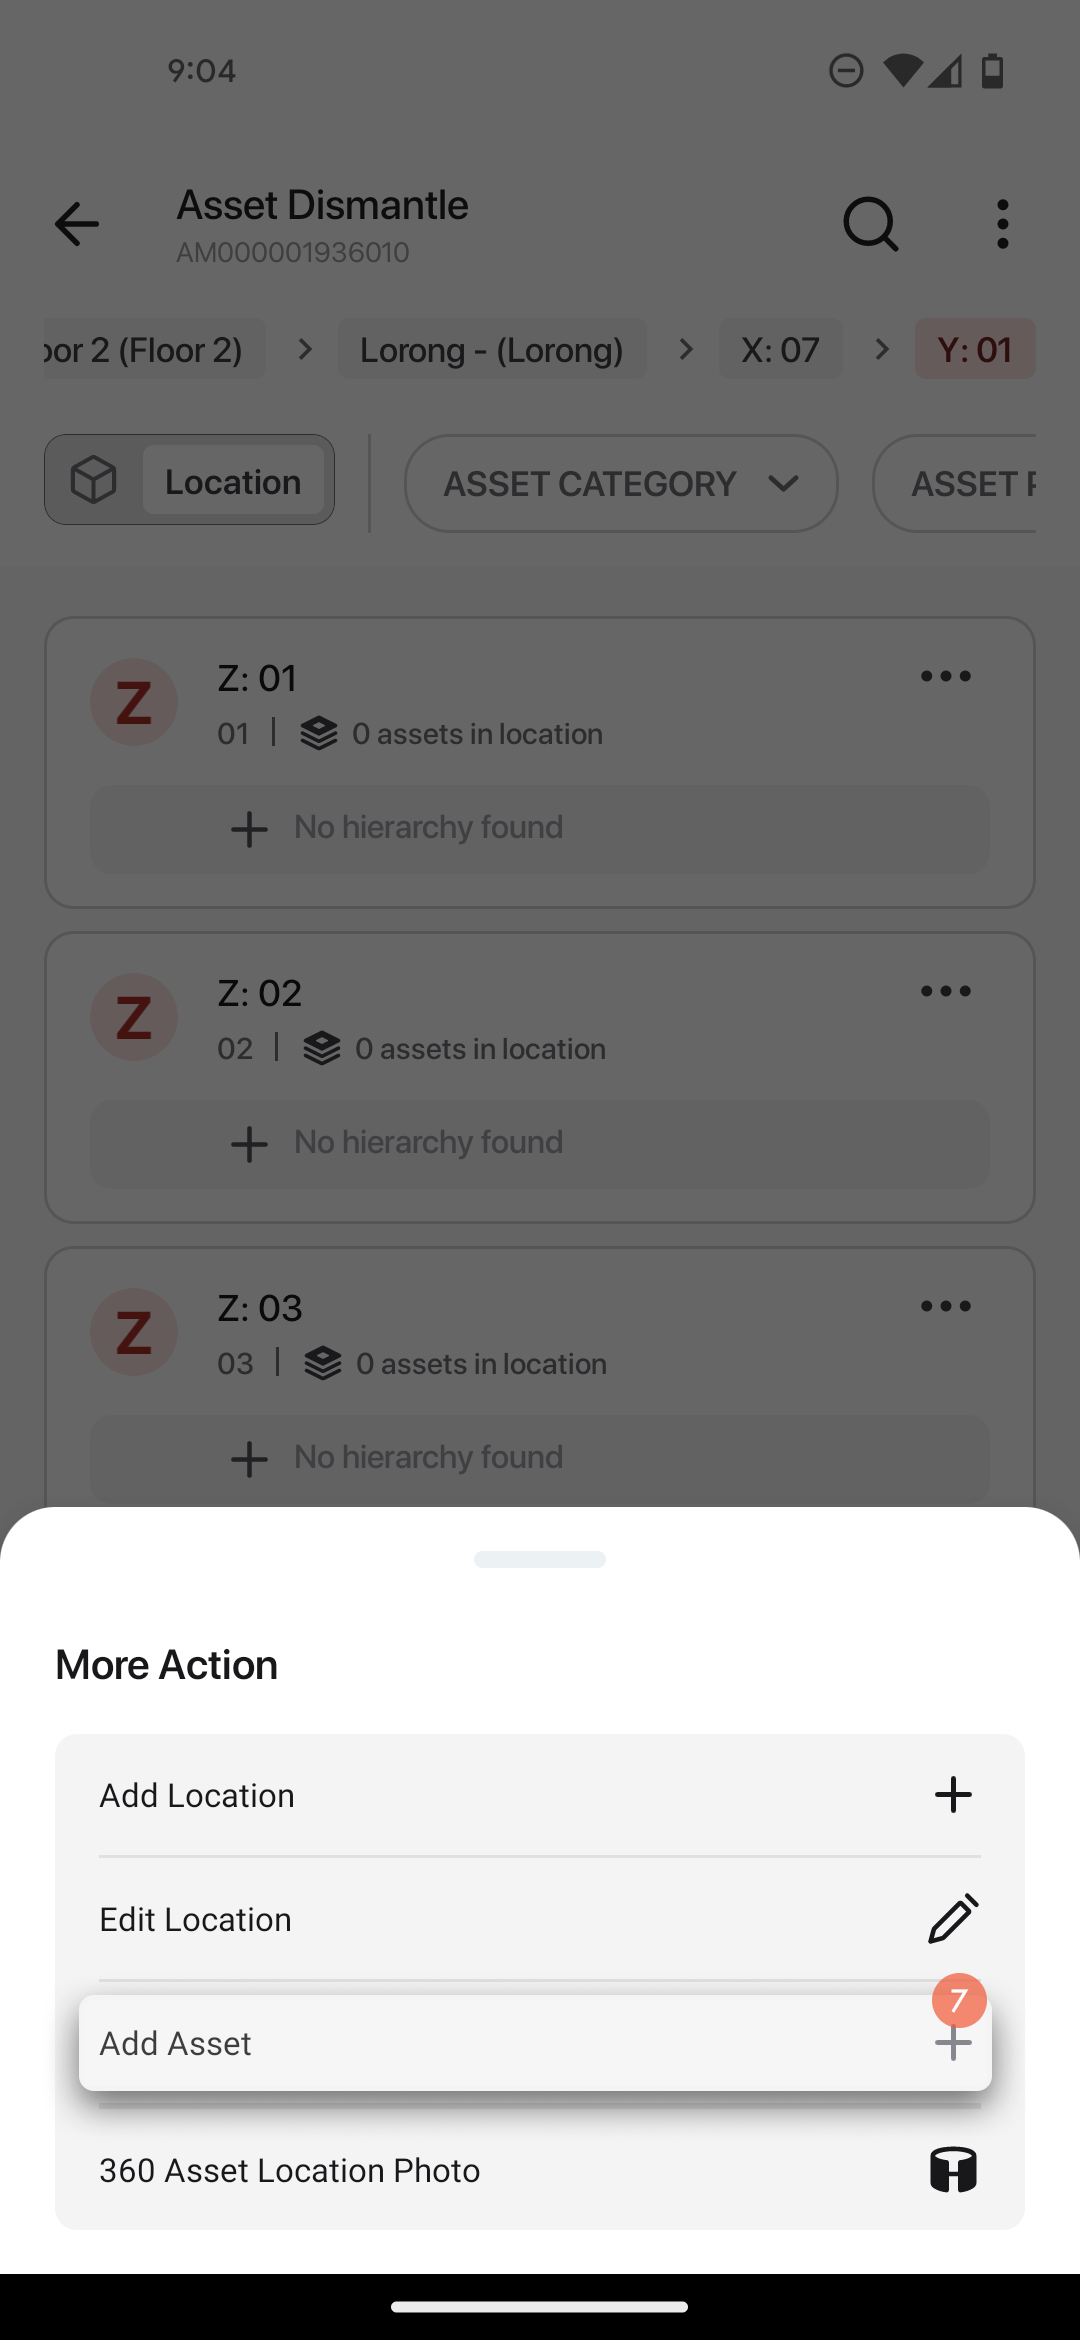
6. Klik menu option pada racking Z.
7. Klik `Add Asset`.
8. Isi data asset.
{% hint style="info" %}
Data asset yang diisi:
* Hierarchy Group
* General: Activity time, part name, serial number, barcode number, NE group & NE ID, NE name, PO number, company owner, status, installation position, dan amount
* Photo: Activity near & far photo
* Note
{% endhint %}
{% tabs %}
{% tab title="General" %}
### Activity Time
1. Klik field Activity Time.
2. Pilih tanggal pengisian data.
3. Pilih waktu pengisian data.
### Part Name
1. Klik field Part Name.
2. Pilih APG.
3. Pilih brand.
4. Pilih item.
### Serial Number
1. Klik field Serial Number.
2. Isi/scan serial number asset.
### Barcode Number
1. Klik check box "Use GPN barcode instead" apabila menggunakan barcode GPN.
2. Isi/scan barcode number asset.
### NE Group
1. Klik field NE Group.
2. Pilih NE grup.
### NE Name
1. Klik field NE Name.
2. Isi NE name.
### Company Owner
1. Klik field Company Owner.
2. Pilih nama perusahaan.
### Status
1. Klik field Status.
2. Pilih status.
### Installation Position
1. Klik field Installation Position.
2. Pilih status instalasi asset.
{% endtab %}
{% tab title="Photo" %}
1. Klik ikon 📷 untuk mengambil foto aktifitas jarak dekat.
2. Klik ikon 📷 untuk mengambil foto aktifitas jarak jauh.
{% endtab %}
{% tab title="Note" %}
1. Isi catatan.
{% endtab %}
{% endtabs %}
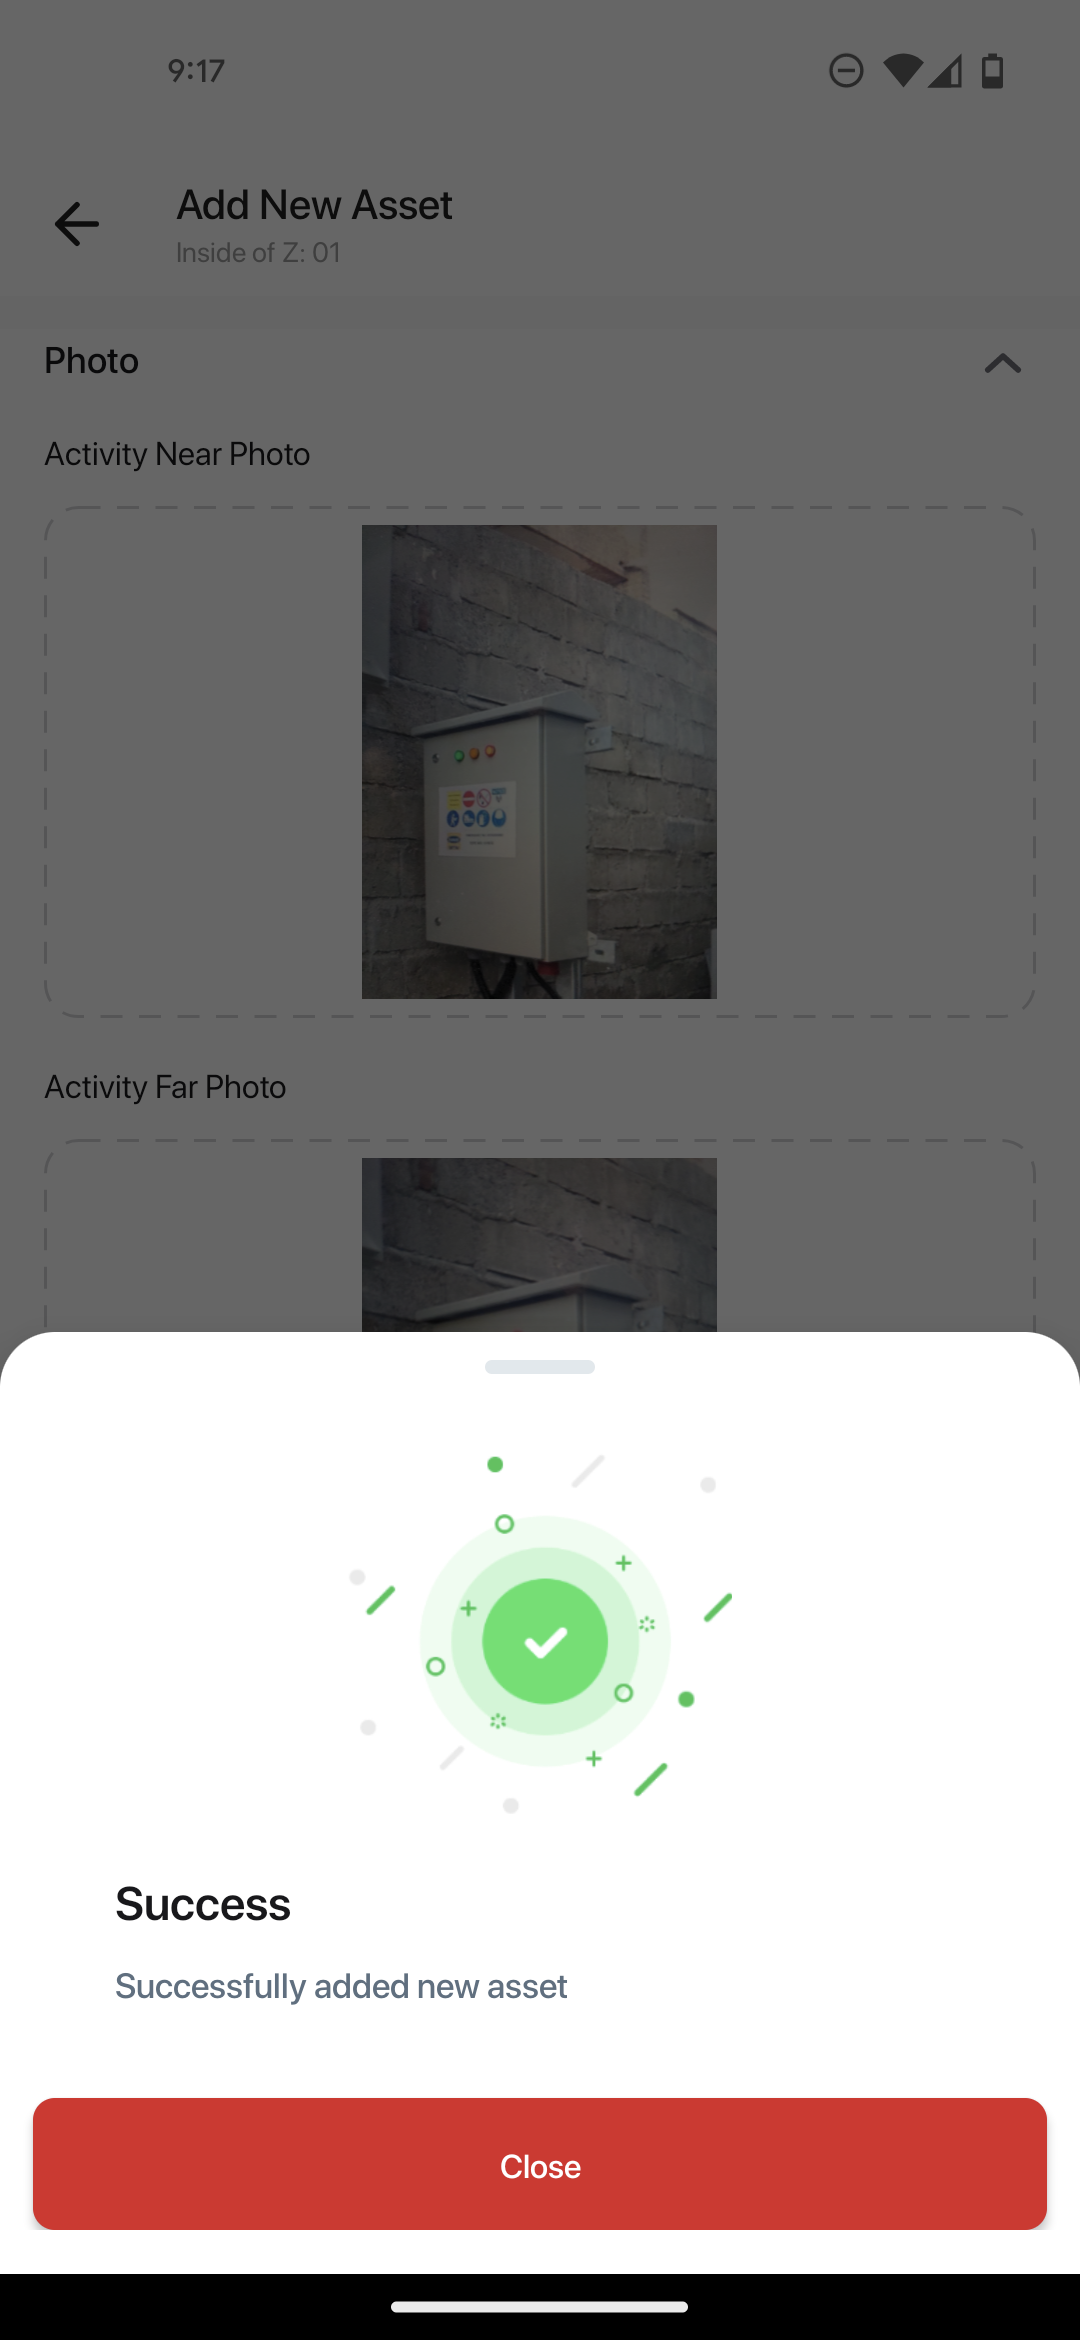
9. Klik `Save`.
10. Klik `Confirm`.




.png?alt=media&token=256d9f53-49e2-4b1f-868e-1a28812fb974)
.png?alt=media&token=481ad1bf-09df-4007-a146-78e907301bee)
.png?alt=media&token=e7b58dc7-004d-4c66-9fb1-5921e11a2d2b)
.png?alt=media&token=d35cb1d9-5809-42aa-831d-cd40f025a300)
.png?alt=media&token=96babf33-41ed-46c0-a2b7-6b38d1d30ce9)
.png?alt=media&token=2c3f1750-c517-4406-8504-7dbb4979f760)
.png?alt=media&token=6d795039-c9ee-413b-bf81-93313de4a08b)
.png?alt=media&token=80b3ae22-8872-4bec-9573-3e10236b4e38)
.png?alt=media&token=6ba1a163-4304-4bf5-8a98-d75b4ddf904c)
.png?alt=media&token=b951570e-82d7-4399-bd04-5a101f32d636)
.png?alt=media&token=64bdfb81-bf3d-4158-bba1-4fac3adcb2f6)
.png?alt=media&token=c5e720ef-89c7-4b60-b307-daa5d0025413)
.png?alt=media&token=94da9def-1db5-49a8-b1b8-e2c9232819bc)
.png?alt=media&token=4ec9b224-d01a-430d-89e1-45a462828897)
.png?alt=media&token=ce9bd12e-dc2d-4cc3-af59-9b4ee094755e)
.png?alt=media&token=4f98a475-5643-48e8-b0b3-e4cb9b6f7615)
.png?alt=media&token=5fae1c47-1d1f-4e68-8e0a-8e4c6f07bfc3)
.png?alt=media&token=bb8c2178-750e-4723-b740-1140932ef923)
.png?alt=media&token=851cde3a-fb2b-4733-a285-becf5a3b190f)
.png?alt=media&token=a93afe3c-ced9-4a18-a497-4b6083938c75)
.png?alt=media&token=528369d5-5619-4ce7-92c9-cce6940cd406)
.png?alt=media&token=428c644a-5a8e-464b-aa66-577906a15a7a)
.png?alt=media&token=877b20b7-abf4-4478-b746-3b16b4686561)
.png?alt=media&token=24b2729c-59f9-45c1-90ce-58b3b6ebbc5b)
.png?alt=media&token=67d899a4-c8c8-45a8-96ba-e9d92b6c8287)
.png?alt=media&token=f90fed63-7b55-4705-b85b-f5c25415e11f)
.png?alt=media&token=9ddf1993-12a0-474d-85cc-67a488a94759)
.png?alt=media&token=ffb1f1dd-a28b-41b4-ba0c-40122f4f964a)
.png?alt=media&token=f4a18d41-e2b0-4bbd-85df-328b32e60ba9)
.png?alt=media&token=c294f6bf-29e2-4037-8d8b-bd5c0fac46ff)
.png?alt=media&token=c928eeef-e994-4074-b892-8f27a59ce458)
.png?alt=media&token=1d54ef71-1d5e-4a1c-ac26-016aa3dabb29)